Showing posts with label seeds. Show all posts

20 March 2011

Start with the soil

Spring is officially here! Iz and I took advantage of the warmer weather and the break in rain showers to clean up the yard and prepare some beds for sowing seeds.  We have three compost piles at the end of the main garden that we started in the fall last year. Basically we just throw all kitchen scraps, coffee grounds, egg shells, some paper (think cardboard coffee sleeves), and a bunch of leaves from the fall into the piles and turned them a couple of times over the season. This is a very informal way of composting, but this is an ideal way to compost for us for a few reasons. 
  • The piles are pretty close to the back door so we just throw the scraps in the pile as our compost bowl fills up.
  •  By composting in the garden, you are keeping all the good bacteria, worms, other bugs etc. that have been living in the compost piles in the garden-creating a more cohesive ecosystem. You are encouraging multiple generations of organisms to live in the soil of your garden.  
  • This helps build the soil naturally, allowing for less tilling, and more nutrients to stay in the soil.  If you are in an area where you have heavy clay soil, like we do, I think you will understand the desire to make a more "fluffy" or less dense soil for your plants.
I am not saying that everyone should compost like this, this is still an experiment for us and is working...so far. If you want to know more, we suggest the following books:  Start with the Soil by Grace Gershuny and One Straw Revolution by Masanobu Fukuoka.  I think I will devote a later post to a few more books that have been wonderful references for us.
There is some good stuff under the straw!

After checking out the soil, Iz started sowing a few seeds: Diakon Radish, Chicory and Mustard Greens.  All of these are happy to germinate in the cool soil.  As I am writing this, I am thinking of other ideas for later posts. I will talk about where we get our seeds why we like seed banks such as Seed Savers and J.L. Hudson over commercial brands such as Burpee. In addition, as things go to seed, I will show how to save seeds from your plants so you don't have to buy any the next year!
Take a look at some photos below. Some of this stuff may seem boring to some people, but once you get a whiff of nice fresh soil, you will be hooked!
Sowing Poppies in the Spring. They like to germinate in the cool earth and bloom when it is warmer.

Daikon Radish from Baker Creek

Directions
 
Iz preparing a spot for the Daikson radishes, mustard greens and chicory. All are good to sow in the very early Spring.

Breaking up the soil lightly

Tiny seeds will grow into large plants!

Diakon Radish Seeds

Chickory Seeds

After sowing, give the soil a little pat to tamp the seeds in.


After the seeds are in the ground, make sure you keep the soil moist as they germinate.  In the Spring it is nice because we usually get a decent amount of rain. Just keep an eye on the soil and water appropriately. Of course I will update with photos when they come up!

15 March 2011

Organized

I organized all our photos of the garden in Flickr for easier viewing! Enjoy!

Changes are coming


Year One Seed Starting

Over the past three years, my husband and I have become very interested in living closer to the land, living simpler-more cretive and fullfilling lives.  This started when we moved into I's childhood home and promptly began planning a garden.  If you look back through this blog, I have a few entires where we go through starting seeds in the basement and if you check out our Flickr page you will see what we have been up to the past few years.


Year One Garden-just finished
 We are also in our third year of investing in a CSA (Community Supported Agriculture) share through Hazelfield Farm in Kentucky. It has been so enjoyable to be able to pick up a bag-full of fresh produce grown locally and sustainably by the same people we interact with on a weekly basis at the farmer's market. We enjoy the challenge of using what is available, creating less waste and becoming more self-sufficient. Iz has begun to realize that horticulture, gardening, sustainable agriculture (whatever you want to call it) is indeed a passion of his. We have discussed the idea of buying property and turning it into our dream permiculture farm and have begun looking at property in ernest. Taking a step further, Iz began to look at farming interships and apprenticeships. We realized that if this was going to happen, Iz would have to leave his current job and commit 100% to his passion.  Through luck, devine intervention or whatever you want to call it, Smaller Footprint Farm contacted Iz and asked if he would be interested in applying for their internship in Yellow Springs, OH.  We thought, why not check it out? After a few agonizing weeks-debating back and forth-weighing the pros and cons, a visit to the farm and an interview, Iz was offered an apprenticeship with them.  By this time we had discussed the subject to death and were ready to take the plunge. Iz accepted the offer this weekendand turned in his letter of resignation at work today.


Some seedlings from last year
 It is still a little scary to think about living with one income, being away from home etc. but this is something that we both believe in and believe that it will all work out. The education Iz will get during this apprenticeship will be invaluable. It will indeed be an interesting year and we are looking forward to the challenges. I thought I would take this opportunity to use this blog to talk about our experiences and about sustainable agriculture, small farms, plants and beyond. I hope to visit the farm often to take lots of photographs and report back here.
We are still getting a full-share CSA with Hazelfield Farm this year and we will still have plans for a full garden at home as well. I hope to be able to talk about what we are doing with all of the beautiful produce and how to preserve the surplus.


Largest Raised Bed we made last year
This is still all very new and exciting! I hope I will have a lot of information and ideas to pass along as this spring and summer progress. Of course, I will be posting photos of our garden as it grows this year. I love to see the transition of empty beds to a profusion of flowers and vegetables! I am also going to try and reorganized our Flickr page into collections and sets that are relevant to eachother-probably one for each year for the garden at the house. Since this is the third year, we have a lot of photographs and perhaps they can be of better use if more organized.


 Stay Tuned! Izzy & Lizzy

19 March 2010

Seedling Updates and more

I wanted to update sooner but time has slipped away from me yet again.  Much has happened over the last 2.5 weeks. The seeds we sowed inside have sprouted and look quite nice so far. The weather has improved greatly so we have been able to put the seedling trays outside to harden off (in other words, getting the little guys used to the great outdoors). We have also been moving out the less hardy plants we overwintered inside.  Only during the sunny warm parts of the day though, we have to ease them back into direct sunlight lest they get scorched.  The same goes for the seedlings, we place the seed trays in a somewhat sheltered area outside where they get a little bit of direct sun but not too much. We will do this over the next couple of weeks and put some of the plants outside permanently after that.  I plan on having the broccoli in the ground by the last week of March.

Here are some photos of our "babies"!


Left photo is all the vegetables: tomatoes, eggplants, broccoli etc. Right photo lots of herbs including thyme...

I also started a few little containers of lettuce, radishes, beets and spinach.


We bought a wine box from Jungle Jim's for about $5.00-in it are the beet, spinach and radish seeds.  The trough container has two varieties of lettuce: Rouge d'Hiver, Forellenschuss.  I think we are going to get a few more wine boxes for either vegetables or flowers. I put chicken wire over the containers to keep out the digging critters.
Both containers have potting soil, compost and a little bit of organic fertilizer. (I'm using the term organic loosely here)
I want to touch a little on fertilizer as there are many commercial varieties on the market. We don't use much or very many types-we are trying to use compost, cover crops and crop rotation to nourish the soil but some benefit can come from using a fertilizer.
Here is some advice from Start with the Soil by Grace Gershuny. These are only general examples and there may be some exceptions. We are not experts so I urge everyone to do a little reading on their own to get more information.
  • Look at the guaranteed analysis (NPK analysis) Nitrogen, Phosphorus, Potassium. It will tell you the percentage of soluble elements available in the fertilizer
  • Choose an NPK rating no higher than 10 for any element. 
  • Anything higher than 10 are probably standard chemical fertilizers that use: urea, monoammonium phosphate, muriate of potash
  • Some bags of fertilizer will not have ingredients so understanding the NPK analysis is helpful

In addition to getting the vegetables ready, we've had some blooming flowers emerge!
Purple Crocus and Yellow Daffodils are some classics. Here the crocus are nestled next to our lemon thyme.

 Blooming Witch Hazel


We bought a blooming hellebore plant last week. We need to get it in another container but I wanted to get some photos before it stopped blooming. So pretty!

We are going to start constructing some raised beds very soon, so I will be updating that as we progress. I'm so glad spring it here!

07 March 2010

Seed Starting Part II

The actual seed starting has begun!  We have several varieties of peppers and tomatoes, eggplant and a Romanesco Broccoli. We also started many many herbs.


If you are new to growing plants from seed here is how we do it.


First you will need a place that is dedicated specifically to seed starting. Here is our set up from last year.

We have hung fluorescent shop lights from our basement drop ceiling and outfitted the units with 40 watt 2200 lumen bulbs.  2200 is good for starting seeds but not for keeping full sun plants alive for a long term period.  Ideally you get them started and move them into a larger pot or in the ground in the space where they will do best.

Some seeds need warmth to germinate, some do not. Some do not need light either. Make sure to read about what plants you are growing so you know what combination of light, heat, etc. needed.  In this example we are starting vegetables-broccoli, eggplant, tomatoes and peppers. They all need light and warmth.

I already discussed light but for warmth we use seedling heat mats.  You can find them at any hardware store that sells seed starting kits.  If you have a warm area in your house that may work as well, but make sure the seedlings are getting enough light or they will get leggy.  We like to use the artificial light and heat mats for consistency and you can start a lot of things in one place.


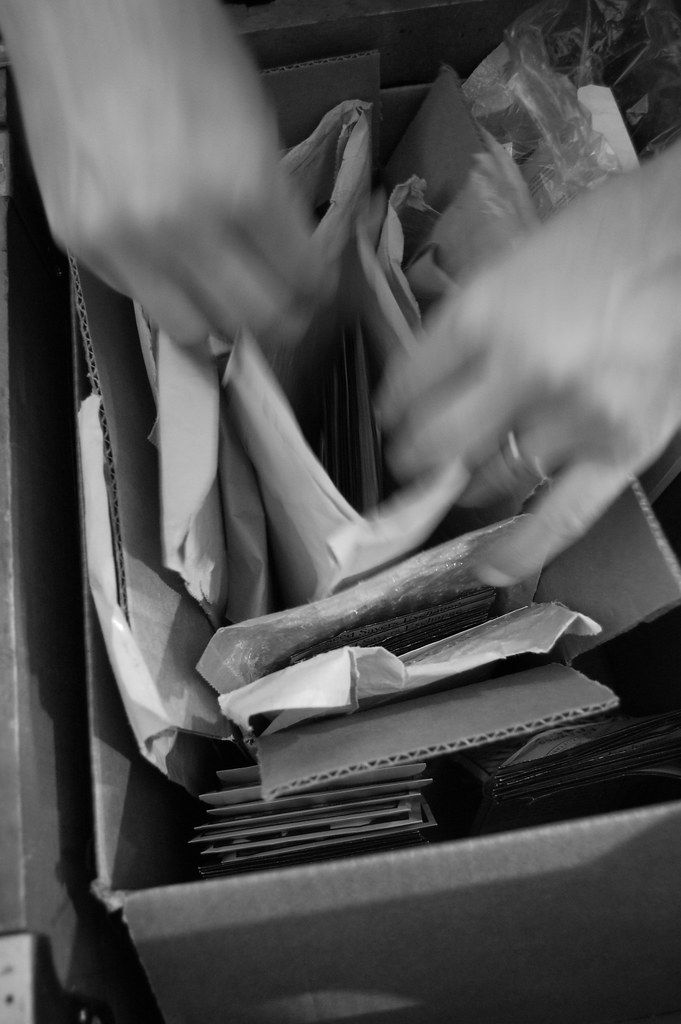
You will also need a medium into which you will place the seeds. We use two different types. The first are spongy plugs the other are jiffy pots with seed starting mix.  There are also peat pellets available in most hardware stores and those are fine too.

With the plugs, you will need to soak them in water first and then place them into cell pack trays.  From there you just place the seeds into the holes in the center of the plugs.  Make sure that the seeds are in contact with the growing medium or they may not germinate since the roots have nothing on which to latch.


 With the seed starting mix and jiffy pots, you will need to moisten the mix with water and distribute into the pots.  You then can place the seeds into the pots.

Place the trays in the condition needed for the seeds to germinate and place a cover over the tray to help keep the soil moist. It is very important for the seeds to stay moist in order to germinate and stay alive.  We mist the trays with water in a spray bottle daily.
 
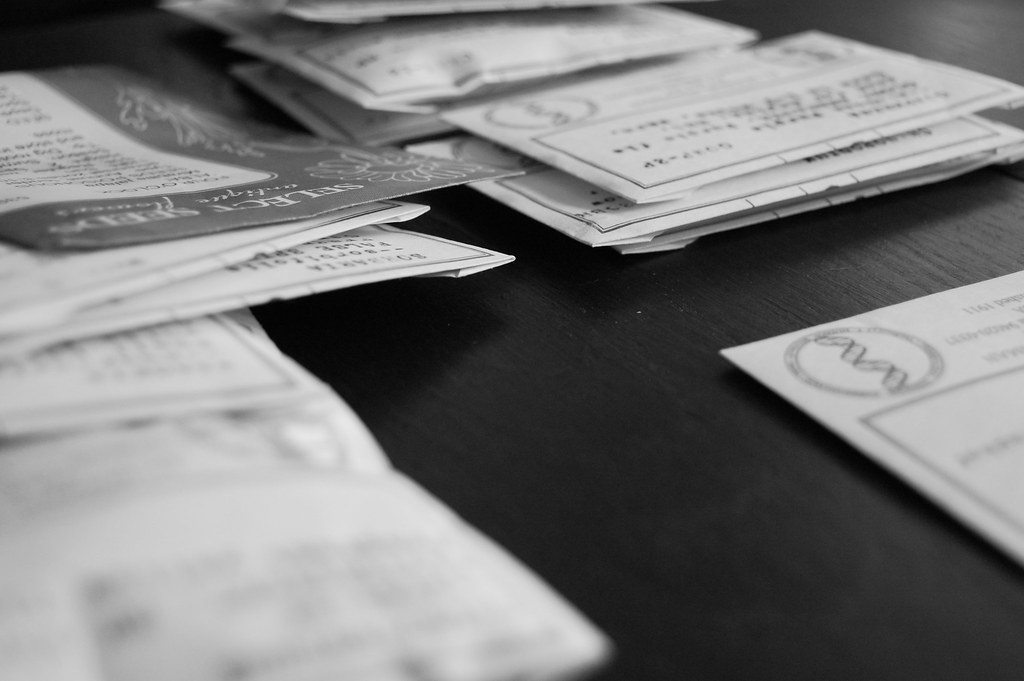
We keep a chart of where each seed is planted since many seedlings look similar until their true leaves begin to form.
There is a little extra set up and initial investment but if you plan on starting seeds every year you won't have to buy everything each time.  Just make sure to sterilize your trays and other seed starting tools before reuse.

I will be updating the seedlings as they grow-it is a very satisfying project to see plants grow from a tiny seed to a full size plant!

05 March 2010

Seed Starting

We are starting to sort out seeds so they can be started in a somewhat organized manner. Some need longer times to germinate, some need different methods, some we can just direct sow (in the ground) after the chance for a frost has passed. I anticipate starting some lettuce, other greens, and radishes outside in a week or two, they will need some protection but I think they should be ok.  I plan on taking more pictures as we go through the process of starting seeds indoors.  We are going to start tomatoes, eggplant and peppers for sure-very soon. Along with lots of herbs and other flowers and interesting shrubs and trees.

For now, here is where we begin!